

One rainy afternoon, my kids wanted playdough immediately. I checked the kitchen cabinet, grabbed flour and salt, then realized every recipe online wanted cream of tartar.
I didn’t have it.
I almost gave up and ordered store-bought dough instead, but after a little experimenting and one very sticky disaster, I figured out a version that actually works without it.
Since then, I’ve made this homemade playdough recipe more times than I can count. It’s cheap, soft, easy to shape, and honestly perfect for those long afternoons when kids are bored and you just need something simple that keeps them busy for more than ten minutes.
If you’ve been searching for homemade playdough without cream of tartar that doesn’t feel dry, crumbly, or weirdly salty, this recipe is the one I’d actually recommend to a friend.
Why Make Homemade Playdough Without Cream of Tartar?
At first, I assumed cream of tartar was what magically made playdough work.
Turns out, it mostly improves texture and stretchiness. Helpful? Yes. Necessary? Not really.
The biggest reason I started making homemade playdough without it was convenience. I didn’t want another random grocery item sitting unused in my pantry for months.
This version still gives you:
- Soft homemade playdough
- Easy sensory play for toddlers
- Non-toxic DIY dough
- Cheap indoor activity ideas
- Fun screen-free playtime
And most parents already have the ingredients at home.
It also became one of my favorite boredom activities during rough weather days. I started pairing activities like this with ideas from Mom Hacks for Toddlers because keeping toddlers entertained without turning on cartoons all day honestly takes strategy.
Homemade Playdough Without Cream of Tartar Ingredients
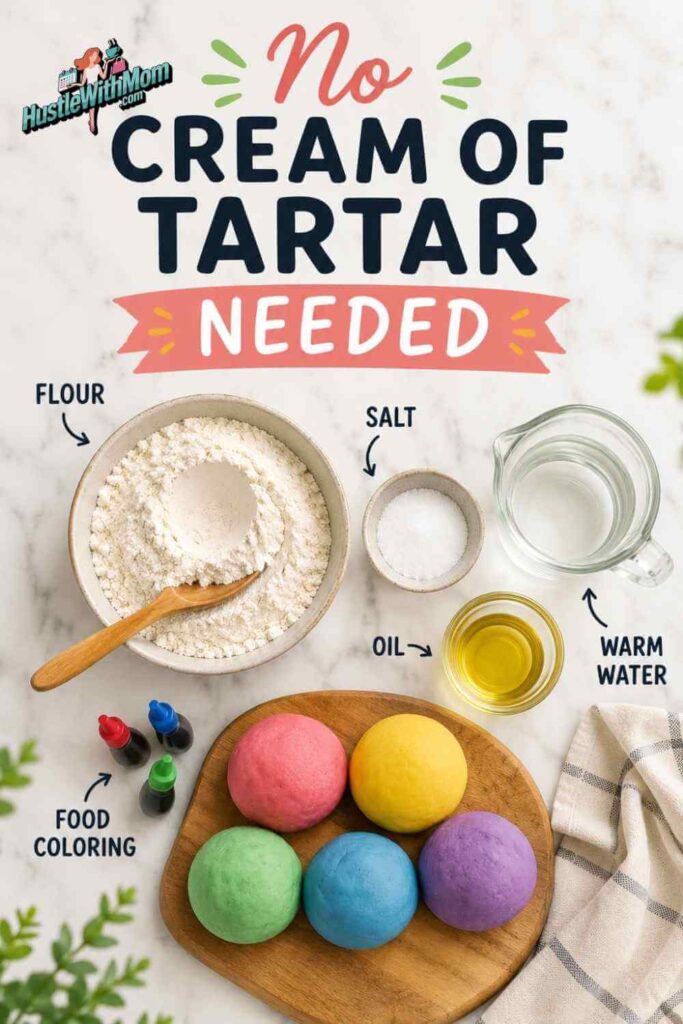
What You’ll Need
- 2 cups all-purpose flour
- 3/4 cup salt
- 2 tablespoons vegetable oil
- 1 1/2 cups warm water
- Food coloring
- Optional: vanilla extract or cinnamon
That’s it.
No cream of tartar. No complicated ingredients. No trip to the store.
How to Make Homemade Playdough Without Cream of Tartar
1. Mix the Dry Ingredients
Add the flour and salt into a large mixing bowl.
The first time I made this, I added extra salt because I thought it would help preserve the dough longer. It technically did, but the texture felt rough and grainy afterward.
Stick to the measurements.
2. Add Warm Water and Oil
Slowly pour in warm water while stirring.
Then add the oil.
If you’re using food coloring, mix it into the water first. I skipped this step once and ended up with blue fingerprints on my countertop for two days.
Warm water matters more than people think. Cold water tends to leave little flour lumps behind.
3. Knead the Dough Properly
Once the dough cools slightly, knead it for around 5 minutes.
This is the step most people rush.
At first, the dough may feel:
- Sticky
- Uneven
- Slightly lumpy
Keep kneading.
The texture usually smooths out after a few minutes.
If needed:
- Add a little flour if it’s too sticky
- Add tiny splashes of water if it feels dry
I tested one batch over about 10 days in a sealed container, and the dough stayed surprisingly soft as long as it was kneaded properly from the beginning.
4. Let It Cool Before Storing
This mistake ruined one of my best batches.
I sealed warm playdough inside a container, and by the next day it felt damp and slimy because of trapped moisture.
Let it cool completely first.
Then store it in:
- Airtight containers
- Zip bags
- Reusable silicone bags
Usually, homemade playdough without cream of tartar lasts around 1 to 2 weeks.
Sometimes longer if refrigerated.
Does Playdough Without Cream of Tartar Feel Different?
A little.
Recipes with cream of tartar usually feel stretchier and smoother, especially for detailed shapes or cookie cutter designs.
But for normal play?
Honestly, most kids won’t notice the difference.
Rolling shapes, making pretend food, smashing dough with toy dinosaurs, hiding beads inside it… this recipe handles all of that perfectly fine.
How to Make Homemade Playdough Softer and Last Longer

After making batch after batch, these small tricks helped the most.
Add a Tiny Bit of Oil
If the dough starts drying out after a few days, knead in a few drops of oil.
It brings back softness surprisingly well.
Store Colors Separately
This sounds obvious, but I ignored it.
Every color eventually turns into one mysterious brown blob if kids mix everything together.
Now I store colors separately in small containers.
Don’t Leave It Out on the Table
I used to leave it out “just for a minute.”
That minute somehow always became an hour.
Even good homemade playdough dries quickly when exposed to air.
Keep Dirt and Crumbs Out
Tiny crumbs make homemade dough feel gross fast.
I now use a washable tray underneath during playtime, and cleanup became much easier.
Simple systems like this honestly saved my sanity during toddler years. Some ideas from 10 Best Mom Hacks That Work in Real Life helped me stop making everyday parenting harder than it needed to be.
Fun Add-Ins for Homemade Playdough
Once the basic recipe works, you can customize it easily.
Scented Playdough
A few drops of vanilla extract make it smell amazing.
Other good options:
- Cinnamon
- Peppermint extract
- Lavender
Just avoid strong essential oils around younger toddlers.
Glitter Playdough
A tiny bit of craft glitter instantly makes kids more excited about it.
Especially during birthday parties or rainy weekends.
Natural Coloring Ideas
If you want to avoid artificial coloring:
- Beet juice → pink
- Cocoa powder → brown
- Turmeric → yellow
Turmeric works really well, but yes, it can stain countertops and clothes.
Learned that one the hard way too.
Common Homemade Playdough Mistakes
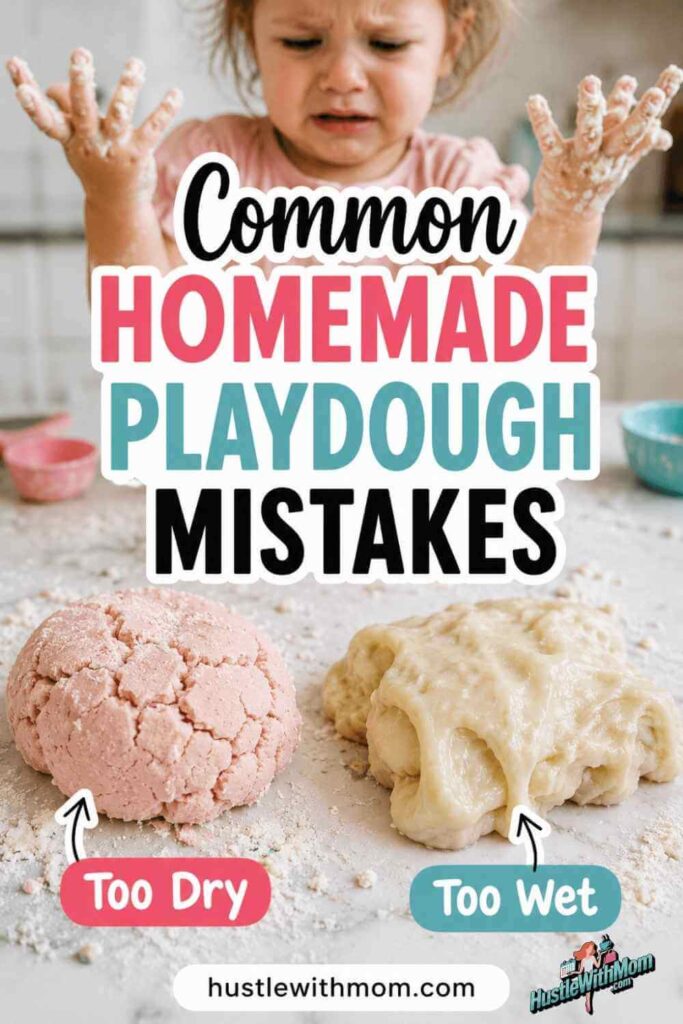
Adding Too Much Flour Too Early
The dough often feels sticky before kneading.
Give it time first.
Using Cold Water
Warm water creates smoother dough with fewer lumps.
Not Kneading Long Enough
This is probably the biggest reason homemade playdough fails.
Five extra minutes changes the texture completely.
Using Too Much Food Coloring
Gel coloring is stronger than liquid coloring.
I once added way too much blue and temporarily dyed my kid’s hands like a cartoon character.
Is Homemade Playdough Safe for Toddlers?
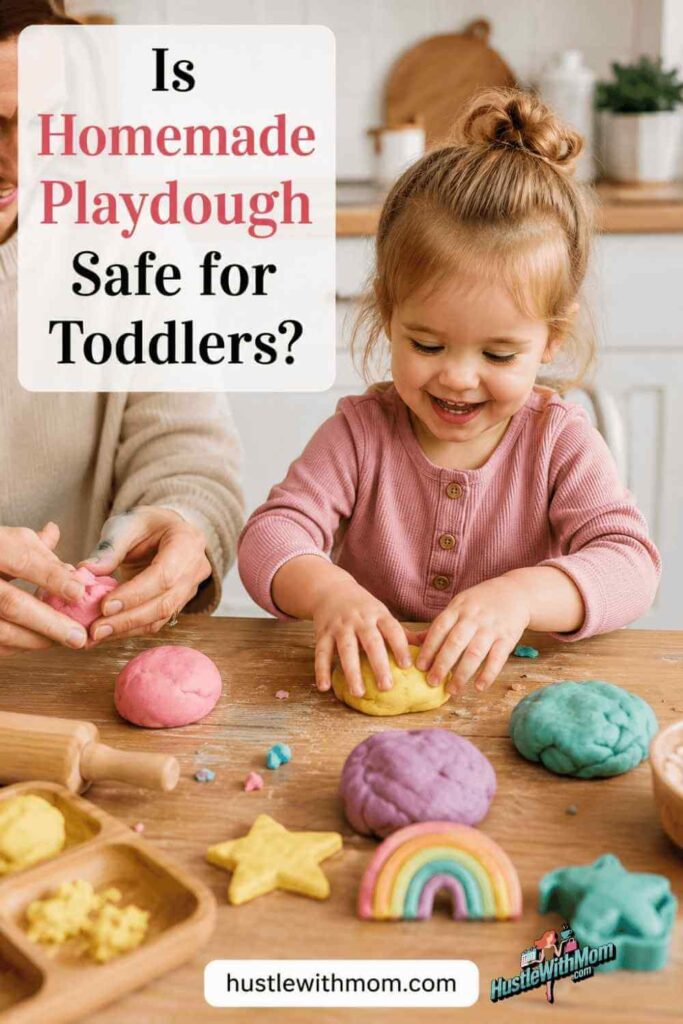
Generally yes, with supervision.
This recipe is non-toxic, but it’s still very salty and not meant to be eaten.
For younger toddlers:
- Supervise closely
- Keep play sessions short
- Wash hands afterward
If your child has wheat allergies or sensitive skin, consider alternative sensory dough recipes made with different flours.
I also noticed calmer, shorter play sessions worked better than trying to force long “creative time.” That mindset shift came after reading more about realistic parenting approaches like Gentle Parenting vs Permissive Parenting.
Best Homemade Playdough Tools
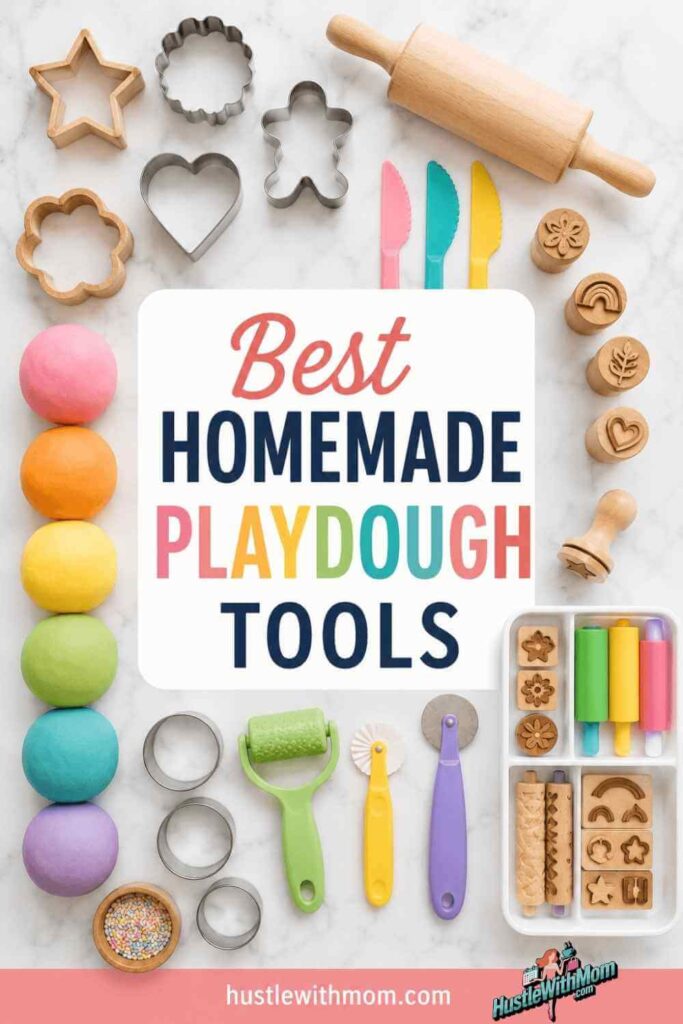
You don’t need expensive sensory kits.
Honestly, random kitchen items work better half the time.
Some favorites in our house:
- Cookie cutters
- Plastic forks
- Rolling pins
- Bottle caps
- Silicone cupcake molds
- Kids scissors
The unexpected winner?
A garlic press.
Kids absolutely love making “playdough noodles” with it.
Homemade vs Store-Bought Playdough
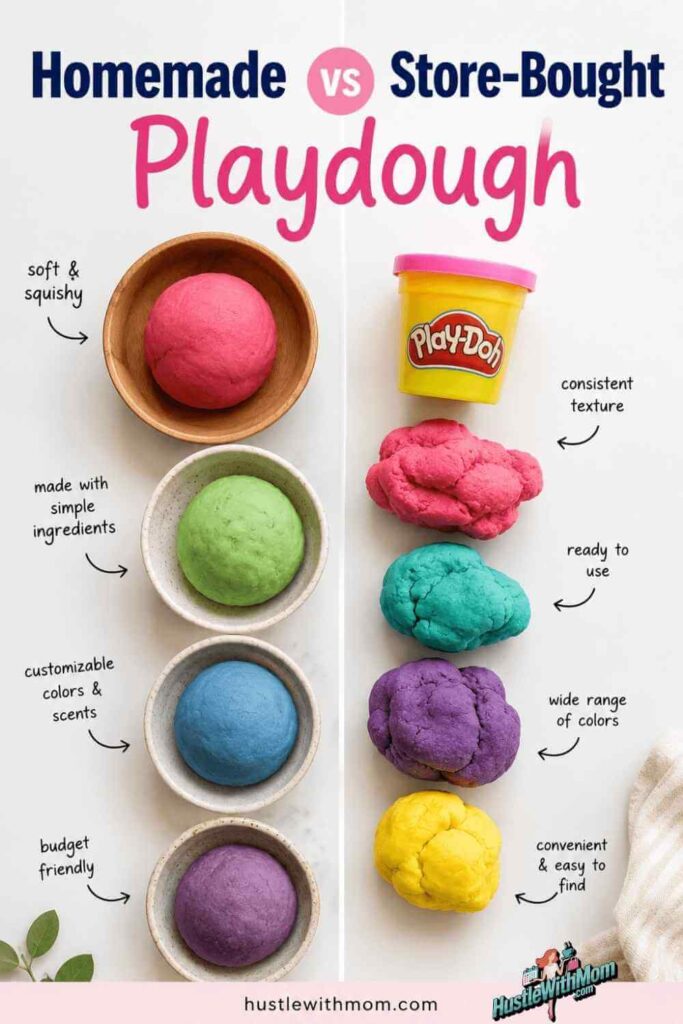
Here’s the honest comparison after using both.
| Homemade Playdough | Store-Bought Playdough |
| Budget-friendly | More convenient |
| Custom colors/scents | Longer shelf life |
| Fun activity itself | Consistent texture |
| Non-toxic ingredients | Less cleanup prep |
For me, homemade wins mostly because making it becomes part of the activity itself.
Indoor Activity Ideas Using Homemade Playdough
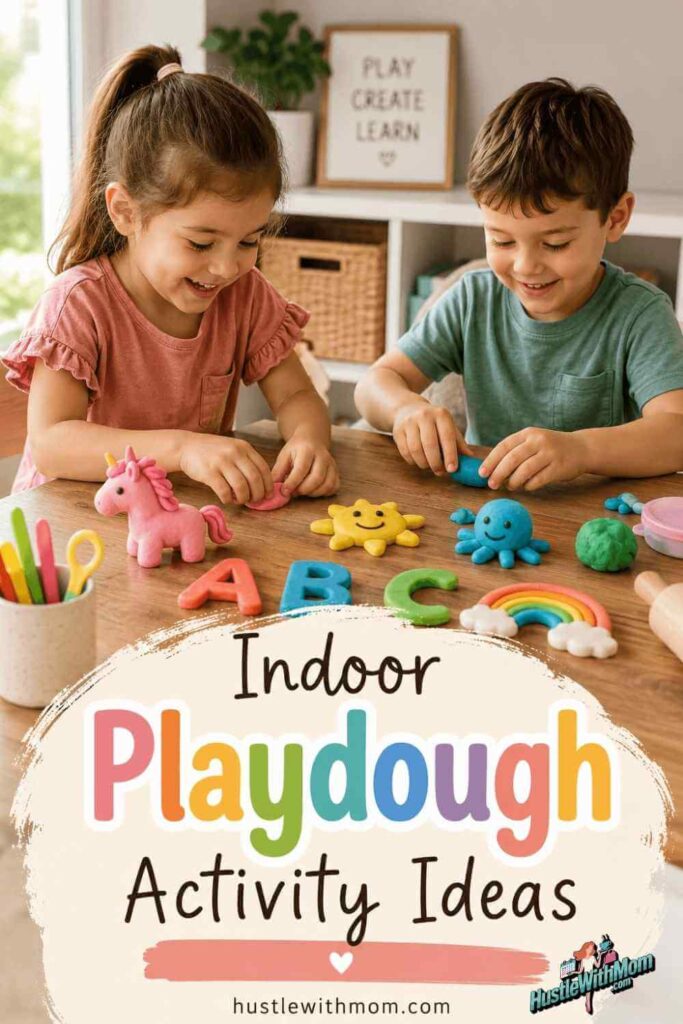
Once you make the dough, the next challenge is keeping kids interested longer than 15 minutes.
These activities worked well in our house.
Pretend Bakery
Kids can make:
- Cookies
- Pizza
- Cupcakes
- Pancakes
This one surprisingly keeps toddlers busy for a long time.
Alphabet Practice
Roll letters and numbers with the dough.
Way more fun than worksheets.
Treasure Hunt Dough
Hide:
- Beads
- Buttons
- Toy animals
Inside the dough for kids to dig out.
Just supervise carefully with smaller objects.
Helpful Resources for Parents
If you enjoy simple screen-free activities and realistic parenting tips, these posts are genuinely helpful:
You can also check activity safety guidance from the American Academy of Pediatrics and simple learning activity ideas from PBS Parents.
FAQ’s
How do you make homemade playdough without cream of tartar?
Mix flour, salt, oil, and warm water together, then knead until smooth. Food coloring and scents can be added for extra fun.
Why is my homemade playdough sticky?
Usually because of too much water or not enough kneading. Add flour slowly if needed.
How long does homemade playdough last?
Most homemade playdough lasts 1 to 2 weeks in an airtight container. Refrigeration can help it last longer.
Can you freeze homemade playdough?
Yes, although the texture may feel slightly different after thawing.
Is homemade playdough safe for toddlers?
Yes, with supervision. It’s non-toxic but very salty and not meant for eating.
Final Thoughts
Homemade playdough without cream of tartar ended up becoming one of those parenting tricks I wish I learned earlier.
It’s cheap, easy, customizable, and surprisingly effective for keeping kids busy on slow afternoons.
Not every batch turns out perfect. I’ve made sticky batches, crumbly batches, and one batch that somehow got mashed into the couch cushions.
But once you get the texture right, this recipe becomes incredibly simple to repeat.
And honestly, having an easy indoor activity made from pantry ingredients feels like a small parenting win on chaotic days.